Showing posts with label recipe. Show all posts

Saturday, 7 June 2014

My Teriyaki Salmon with Thai Sticky Rice and Chilli Lime Broccoli

Last night I made a fairly quick teriyaki salmon dish because we fancied something full of flavour but fairly light and I always look to Asian food for this! I served it with some sticky Thai rice which went with it very well, though you could use noodles or even egg fried rice if you'd prefer. And to keep it zingy, I lightly fried my broccoli in chilli and lime juice. The perfect late Friday night meal after a long week at work that involves minimal prep, only about 15mins in front on the hob and whole lot of satisfaction at the table (or on your knee in front of Alan Carr!)


Ingredients 


1 tablespoon rice wine vinegar
2 tablespoons clear honey
3 tablespoons dark soy sauce
1 garlic clove, chopped
a chunk of ginger, chopped (about double the size of your garlic clove)
2 salmon fillets

oil (I used olive as it's all I had in, but preferably a none flavoured oil)
a handful of tender stem broccoli
1/2 - 1 chilli (depending on taste), chopped finely
1 lime

thai sticky rice
fresh coriander to garnish


Firstly marinate your salmon buy mixing together the vinegar, honey and soy sauce in a shallow bowl. Add the garlic and ginger (and don't worry about chopping these super finely as we will be sieving them out later). Then put your salmon in the bowl and coat all over. Cover with some cling film and leave in the fridge for a couple of hours or until you are ready to cook!


When you're getting hungry, preheat the grill to about 180degrees and cook the rice according to packet instructions. If you're doing Thai sticky rice then I always aim to have it cooked about 10minutes before I'm ready to serve so you can leave it in the hot pan with the lid on to get really really sticky first!

Take out your bowl of salmon, and roll the salmon in the marinade again so that it is all covered. Take the fillets out and put onto a baking tray, saving the left over marinade for your sauce later. Put into the preheated grill for about 10-15minutes, checking regularly. You want to be able to put a knife into the thickest part of the fillet and it to slide a flake out very easily, but don't overdo it and dry out the salmon - as soon as it is no longer rubbery then take it out!


As the rice and salmon are cooking, get a pan of water on the hob and boil (or steam if you have a steamer!) the broccoli for about 5 minutes or until just tender. Drain and put to the side for a moment.

Give the broccoli pan a quick rinse and add the left over marinade to heat for a few minutes until it thickens slightly. Squeeze in the juice of half a lime, saving a couple of wedges to garnish if you'd like. Don't worry if it doesn't look like much sauce - there is so much flavour in this that you won't need a lot!


Add a splash of oil to a frying pan and add your chopped chilli. Fry for a couple of minutes then add the broccoli. Squeeze in the juice of the remaining half a lime, and you're ready to serve!


Line up the rice, salmon fillet and broccoli on a plate, making sure you sprinkle all of the chilli over from your broccoli pan! Sieve the sauce into a jug so that you remove the chunks of garlic and ginger, then drizzle the sauce over the whole dish. Sprinkle with fresh coriander and add the lime wedge if using.


A really tasty dish, full of fresh, zingy flavours with just the right amount of stickiness to feel indulgent!! Enjoy!

Saturday, 24 May 2014

Italian Buffet Leftovers Three Ways

A couple of weeks ago I cooked an Italian Buffet for the girls (which mostly consisted of pizza!) and I had a fair few left over ingredients. There was a couple of chicken breasts left from the Chicken Pesto Pizza, some pasta salad, mushrooms, salsa (from the crisp dipping that always occurs on girls night!) and a few bits from the olive selection. So I decided to use these ingredients to feed me for the next week (just about!) and this is how I did it...


Leftovers 1

On the first day I basically bunged everything into a pan with some chopped tomatoes and a little balsamic and made a lovely rich, slightly spicy, tomato dish.

First off, chop a red onion and throw into the pan with a splash of oil (I actually just poured in the oil from the olive platter, so we already had some of those lovely flavours cooking away!)


Crush any left garlic from the olive platter and another clove for good measure, and stir into the onions. Then dice the chicken and add to the pan. Cook until all of the chicken is sealed, then add in the mushrooms, chopped.

As the mushrooms are starting to shrink, add the leftover salsa, a tin of chopped tomatoes, a dash of balsamic vinegar if you've got it, and some dried herbs. I can't honestly remember what I used but maybe something like basil and a little oregano would work well! Give it a good twist of salt and black pepper as well.

Simmer away then add the olives - chopped so that the flavour spreads throughout the dish. I included the chillies as well, but left out the stuffed peppers (I say left out - I actually ate them as I was cooking!!)


I would then leave with a lid part on for about 10minutes or so, making sure that the chicken is cooked through and has soaked up all of those yummy Italian flavours. But don't overdo it on day 1 as you'll be reheating this dish again!!

I served this with left over pasta salad, shredded iceberg lettuce, garlic bread and some grated parmesan over the top for good measure. Now tell me - does this look like a proper plate of leftovers or what?


Save the rest of the tomato chicken stew in the fridge - you'll need this again!

Then I popped the rest of the pasta salad in a tupperware, ready to take for a working lunch the next day!


Leftovers 2


The next evening I fancied rice instead, so I cooked a portion of rice according to packet instructions and heated up a portion of the tomato chicken. Served with some rocket and a little more balsamic - this was absolutely delicious!


Leftovers 3


The third variation on this dish was in a pasta bake. I cooked a couple of portions of pasta in a pan of boiling water until just underdone. Then mix in with the remaining tomato chicken and grate with a little parmesan. Bake in the oven for about 15minutes at 180degrees, or until the sauce is bubbling away and the chicken is heated through. This pasta bake then did the next night as well!


So there you have it - leftover ingredients from one meal, cooked in three different ways and lasting four dinners and a lunch! Not bad going really!


Monday, 5 May 2014

Italian Buffet with Friends!

Hello and welcome back! 

A huge thank you to everyone who has continued to check out my recipes and things, even though I've been blog-absent for far too long! I am so excited to say I now have a laptop again, so I plan to post weekly(ish) as before... And to kick it all off I thought I'd share a few super simple recipes that I made on Saturday night for the girls as a bit of an Italian Buffet Feast!


The recipes are for three different pizzas - Carbonara Pizza, Chicken Pesto Pizza and Pepperoni Pizza - and a Pasta Salad. The pizza recipes are my own, but the tasty pasta salad was taken from the handy little book, Everyday Pasta, published by Parragon 2009. Served with a basic green salad, some mixed olives and a ton of garlic bread, this buffet worked a treat (though I had to take the photo of the table before adding everything to it because the girls were dying to tuck in!) It made a wonderfully easy meal as it can nearly all be prepped in advance, so it's perfect if you don't want to miss out on any of the catch up! Admittedly a carb heavy buffet but undeniably tasty with a glass or two of a good Pinot and some lovely company.


Carbonara Pizza

pack of pizza base mix (for an 8" pizza)
1/2 cup of double cream
1 medium egg
black pepper
olive oil
1/2 red onion, sliced
a couple of handfuls of mushrooms, sliced
parmesan cheese
a few pieces of parma ham
a couple of handfuls of rocket (optional)
balsamic syrup (optional)

Make the pizza base according to packet instructions, but make sure to roll is out really nice and thin to get a lovely crispy base (mine was much bigger than the suggested 8"). Leave it to rise slightly on a piece of baking paper while you prepare the topping.

Whisk together the cream and egg. Add a good twist of black pepper and leave to the side for a moment.

Heat a splash of olive oil in a frying pan over a medium heat and add the onion. Fry for a couple of minutes then add the mushrooms for a further minute (these will be cooked in the oven so don't overdue them at this stage). Add the cream mixture to the pan and grate in as much parmesan as you want! Give it a quick mix around then empty back into your jug or bowl to cool.

When you're nearly ready to serve your pizza then preheat the oven to about 220 degrees. Spread the cream mixture over your base and rip over the parma ham. Grate a little more parmesan over the top and pop in the preheated oven for about 10 minutes or until the topping is turning golden and the edges are just starting to crisp up.

If using, then scatter rocket over your cooked pizza and drizzle with balsamic syrup. Enjoy!


Chicken Pesto Pizza

pack of pizza base mix (for an 8" pizza)
2 tablespoons of basil pesto (I used shop bought to save on time but if you can be bothered to make your own then definitely do!)
olive oil
2 chicken breasts, baked in the oven for about 30mins wrapped loosely in silver foil then sliced (or buy some ready cooked)
1 small courgette, grated
a handful of pine nuts
about 1/2 – 1 ball of mozzarella, depending on how cheesy you'd like it!
parmesan cheese

See above for making your base then preheat the oven to about 220degrees when you're ready to cook pizza. Spread the pesto evenly over the base and drizzle with a little olive oil, mixing it around on the pizza to thin the pesto slightly.

Spread over your cooked chicken pieces, grated courgette and pine nuts. Rip the mozzarella into small pieces and scatter over the top. Grate with a little parmesan then pop in the oven for about 10 minutes or until all of the cheese is melted.

Yummy!


Pepperoni Pizza


pack of pizza base mix (for an 8" pizza)
about two tablespoons tomato purée
about a tablespoon of water
olive oil
1 garlic clove, crushed
1 teaspoon of herbs (try basil and oregano if you've got them!)
salt and black pepper
a selection of pepperoni pieces
1/2 red onion, sliced
1 red pepper, sliced
1 ball of mozzarella


Make your pizza base as above, then preheat your oven to 220degrees when ready.

Mix together the tomato purée, water, a dash of olive oil, garlic, herbs and a good twist of salt and pepper. Spread this evenly over your base, then scatter the pepperoni, onion and pepper pieces. Finish by ripping mozzarella into small pieces and spreading around.

Cook in the oven for about 10 minutes or until the cheese is bubbling away, then serve!


Pasta Salad

As I mentioned earlier, this recipe is not my own - it was taken from the Everyday Pasta book, published by Parragon, and adapted for this buffet. The recipe asks for parmesan but I figured that the feast was already so cheesy that I'd leave it out, and it is also meant to be served warm (called Warm Pasta Salad in the book!) but I prepared earlier in the day and served cold. I've also changed the quantities to match my haphazard way of cooking - but seriously, who measures out pasta to the gram?!

2 or 3 handfuls of dried farfalle or other pasta shades
6 pieces of sun-dried tomato in oil, drained and chopped
4 spring onions, chopped
a handful of rocket, chopped
1/2 cucumber, deseeded and diced
2 tablespoons of parmesan cheese, grated (optional)

4 tablespoons olive oil
a good pinch of caster sugar
1 tablespoon white wine vinegar
1 teaspoon Dijon mustard
salt and pepper
a few fresh basil leaves, finely chopped (or a teaspoon of dried if you forgot to pick it up like me!)

Make the dressing first by whisking the liquids together. Season with salt and pepper and add the basil.

Cook the pasta according to packet instructions, then drain and toss in the dressing.

If serving warm, then add the remaining ingredients and sprinkle with parmesan cheese (if using) now. If serving cold later then I'd recommend waiting to add your salad once the pasta has cooled to avoid the leaves becoming soggy.


And there you have it! A carb heavy, but satisfyingly simple Italian buffet... crack open a bottle of Pinot and enjoy with friends next weekend!

Monday, 27 January 2014

A quick potato salad recipe!

This is just a quick post because I was so chuffed with my potato salad that I had for lunch today - made out of the left overs in my fridge last night - that I wanted to share the recipe! Unfortunately I have no photos except a terrible one of the second half of the salad in it's Tupperware ready for tomorrow's lunch! But seriously, this is a real easy, really tasty potato salad that you can make the night before a miserable Monday morning to cheer you up later in the day - and it really did put a smile on my face at lunchtime!


So here we go... quantities are vague as ever - makes about two portions - but you can really just use up left overs for this recipe!

Ingredients


a couple of handfuls of small potatoes (or chop up a couple of bigger potatoes!)
about 100ml sour cream
a splash of white wine vinegar
generous twist of salt and black pepper
a handful of fresh dill, chopped finely (or just use about a teaspoon of dried dill like I did!)
1/4 red onion chopped very finely
1/2 cucumber, seeds scraped out and chopped
about 100g smoked salmon (or however much you can spare!)

Boil your potatoes for around 15minutes or until soft.

While they're boiling, mix together the sour cream, white wine vinegar, dill and seasonings in a large bowl.

Drain your potatoes and add to the dressing while still warm. Leave to cool while you chop the remaining ingredients.

Once cool, add the cucumber, onion and smoked salmon and mix through until everything is coated nicely in the dressing. Pack up in a Tupperware or two for lunch the next day, or serve with a green salad and a glass of cool white wine for dinner!


Variations


If you have a different combination of ingredients in your fridge or want to try a different potato salad then go for it! Why not swap the smoked salmon for some smoked haddock and go heavy on the black pepper? Or you could easily swap the sour cream for crème fraîche (maybe use a bit less as this tends to be a bit richer) or natural yoghurt, though the red onion works really well with sour cream. And if you're less of a fish fan, then go for some cut up smoked bacon or pancetta instead and swap your dill for some fresh parsley. The opportunities are endless... so Happy Monday... have a lovely week and enjoy!

Monday, 20 January 2014

My first attempt at pasta!


I don't know if anyone else has ever had a go at homemade pasta, but I watch it on TV all the time and it looks so easy I just thought... I may as well give it a go! And I guess it is pretty easy... but only when you know what you're doing! So this is a little bit about my first attempt at pasta - I wouldn't call it a total failure but neither would I call it a success - but practice makes perfect, right?


I was following this recipe (as accurately as I could!) for Spinach and Ricotta Tortellini, which I made in advance and froze for a couple of weeks. Then I roughly followed the recipe for for a Butter, Sage and Pine Nut Sauce, and cooked some of the pasta up tonight for tea!


When making the pasta, I got in a bit of a mess - I always get in a mess when there's flour involved - but I was fairly pleased with the ball of stuff I had that sort of resembled the pasta dough I was aiming for. It was at this point that I realised I didn't have a rolling pin (I now do, as well as a pasta maker, after telling this story to my mum and boyfriend just before Christmas!)


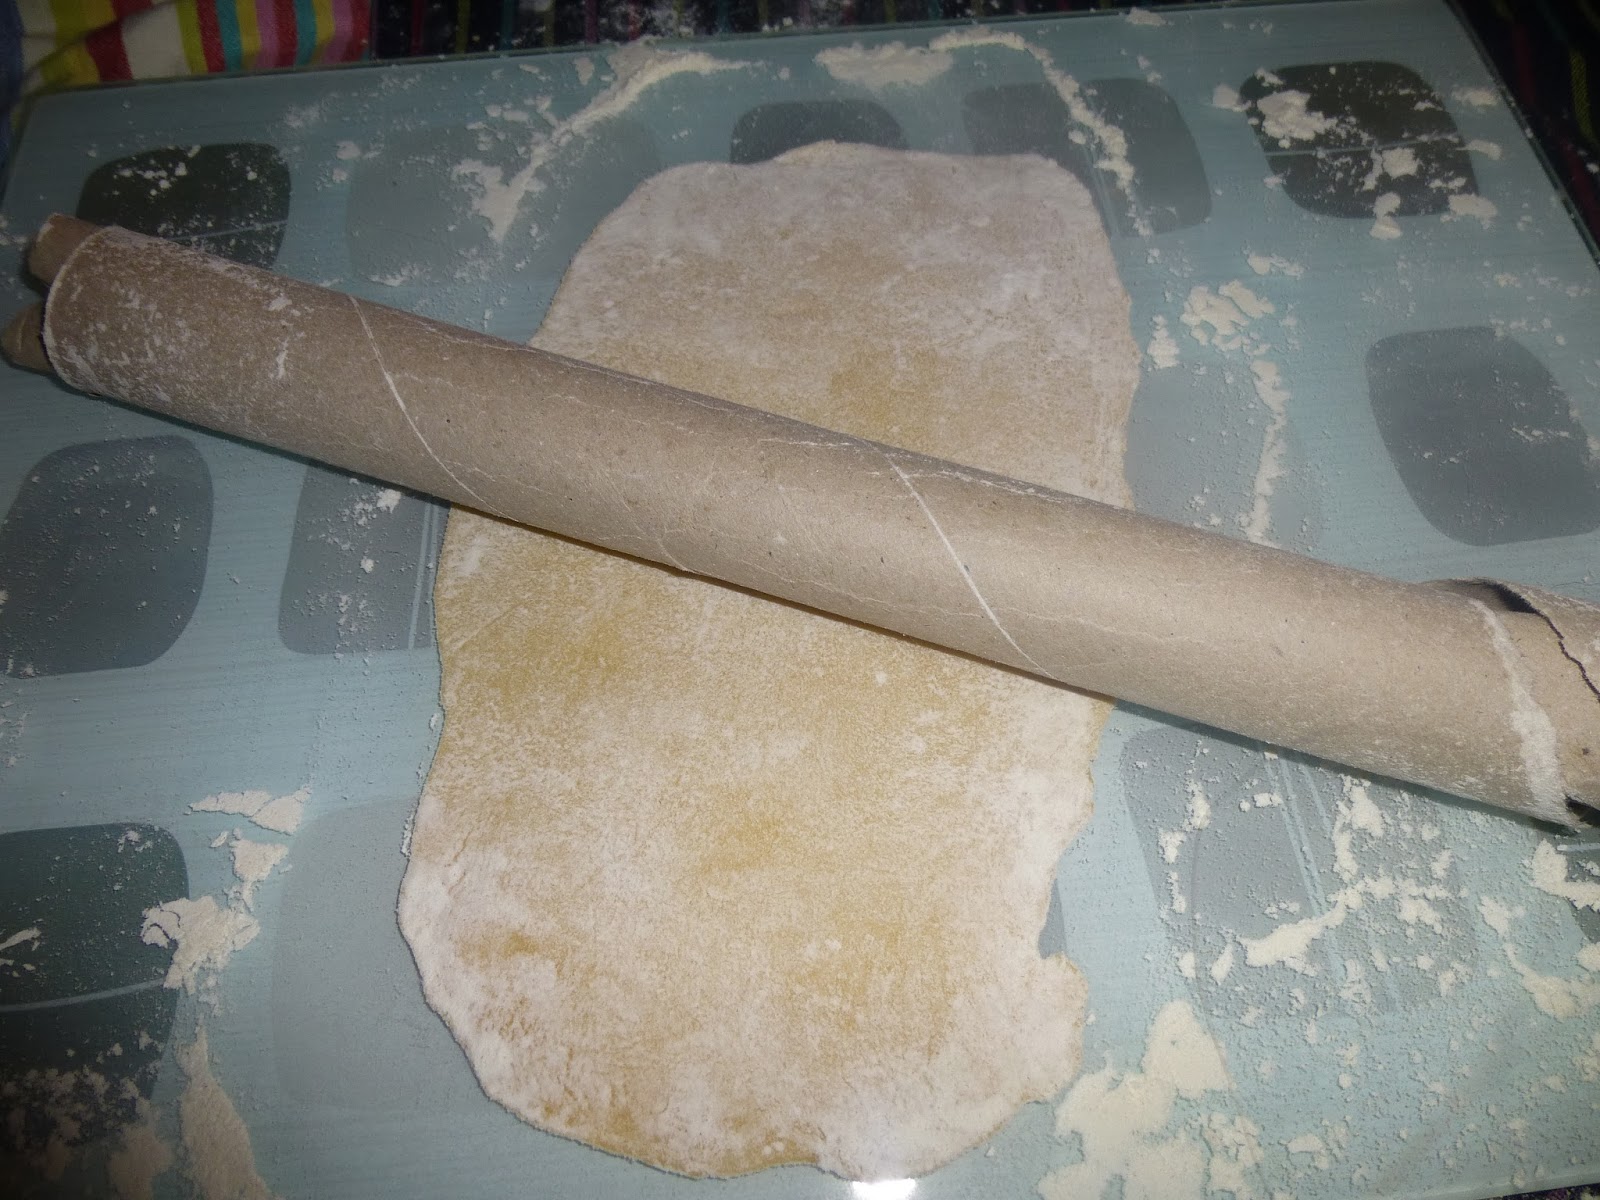
As I was making these around the gift giving period, I improvised with the closest thing I could find to a rolling pin - the cardboard tube from a roll of wrapping paper! Needless to say, the rolling of the pasta was not as smooth or as thin as it should have been and the tortellini was probably ruined from here on... but I'm not a quitter!


The spinach and ricotta filling was fine to make, but spooning it into my little slabs of pasta and trying to not get in even more of a mess was a little trickier! Anyhoo, I managed to make them and then wrapped them individually in cling film to freeze so as not to stick the tortellini together.


Tonight I boiled my little funny-shaped attempts at tortellini and cooked the pine nut, sage and butter sauce and dished it up... and I was pleasantly surprised! For something that could have been a total disaster, it definitely tasted like pasta and the thinner areas around the filling were pretty good! Some of it, admittedly, was too thick and a bit chewy and they were all shapes and sizes... but not bad for a first attempt!


I'll definitely be giving it another go sometime soon, but I will not use a tube of wrapping paper and I will try to have a finished dish that looks little more like tortellini!


Saturday, 18 January 2014

Beef Goulash

When I was traveling around Europe in the summer I couldn't help but bring back a load of local bits and bobs to cook with! One of the things I brought back was some goulash spices from the Naschkmarkt in Vienna, because after trying goulash in Prague (and later in Hungary) I was keen to make it myself!

Last night I made this for me and boyfriend and it was really delicious! As you probably can't make a trip to Vienna just to pick up the spices, I'd say to use paprika instead. It worked brilliantly served with just some crusty bread and a green salad, but you could always have a go at some dumplings to serve in the stew or it would be tasty with some rice!


serves 2

Ingredients


olive oil
1 large onion, chopped
1 clove garlic, finely chopped/crushed
1-2 teaspoons goulash spices/paprika
salt and black pepper
1 red chilli, finely chopped
1 red pepper, chopped
1 green pepper, chopped
stewing steak (enough for two people), diced
1 beef stock cube
1/4 glass of dry white wine
1 tablespoon tomato puree
1/2 tin chopped tomatoes
a small handful of fresh parsley, chopped (or a teaspoon of dried if you forget to pick up the fresh stuff like I did!)
2 tablespoons sour cream

to serve
crusty bread (I used part-baked rolls from the supermarket, but some nice bread from the bakery would be lovely as well!)
green salad leaves
 

Preheat your oven to about 130 degrees.

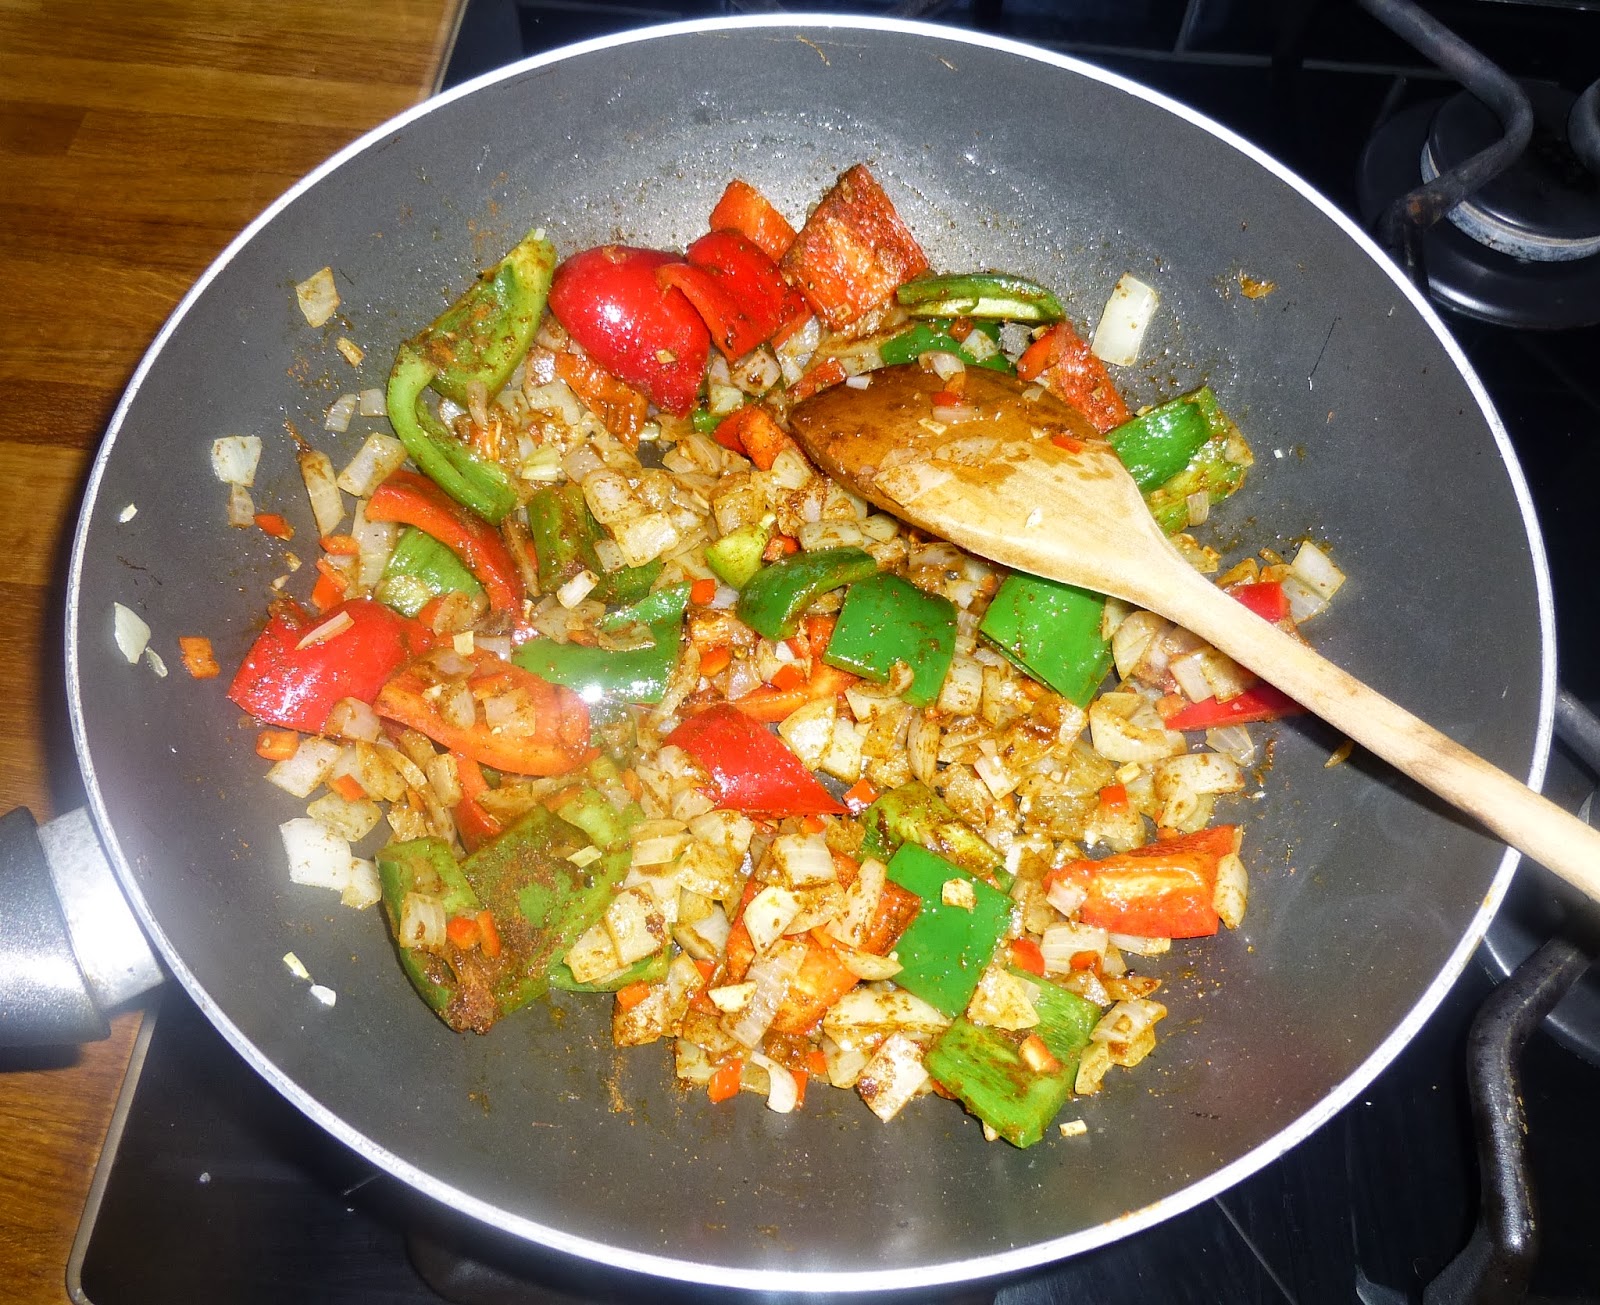
Fry the onion in a splash of olive oil for a few minutes over a medium heat. As the onion is starting to soften, mix in the garlic, spices and a generous twist of salt and black pepper. Fry for a further two minutes before adding your chilli and pepper. Once the peppers have started to soften, tip the contents of your pan into a casserole dish.


Add the steak to the pan and mix it around until it is sealed all over (this will only take a couple of minutes). Add about 100ml of boiling water to your stock cube (probably less than the packet will recommend) and pour into the pan. Mix in the wine, tomato puree, and chopped tomatoes. Heat through for a couple of minutes and then add to the casserole dish, mixing with the veg. You should have enough liquid for all of the ingredients to be just covered.


Loosely wrap some silver foil around the casserole dish (or use a lid if you have one) and pop in the oven for about an hour and a half, stirring half way through. About 10 minutes before the end of cooking, take out and add the parsley and sour cream. Mix and return to the oven without the foil. I put the bread into the oven at this point to bake for ten minutes to serve warm with the goulash.


Serve with your chosen accompaniment and enjoy!

Tuesday, 14 January 2014

Kind of Thai Fishcakes

Just a quick recipe for you tonight that I made for me and my flatmate last night. We had a Thai inspired meal of fishcakes and stir-fried veg.

I'll be honest, it was my first time making these fishcakes and I completely made up the recipe so they still need a little bit of work, but I vowed to share my kitchen successes and failures on this blog so you're going to get it anyway!! Not that this was a failure - it was pretty nice, just not gobsmackingly beautiful - so why don't you play around with the recipe a little and you might find something more delicious than mine!


Serves 3 (us two and my dinner tonight!)


Ingredients


3 small portions of potato, peeled and chopped
1 stalk of lemongrass
your choice of stir fry veg, chopped - I used cabbage, pepper, broccoli and carrot
1 teaspoon sugar
splash of rice wine vinegar
3 fillets of white fish
3 teaspoons Thai Green curry paste (if you spend a little more on a better paste then this is more than enough because it'll be full of flavour, but if it's a cheapo one then you might need a little more!)
a handful of fresh coriander, chopped
1 red chilli, finely chopped
sea salt and black pepper
1/2 lime, squeezed
 olive oil 
1 small egg
plain flour
a drizzle of soy sauce
sweet chilli sauce (to serve)

Begin by getting a pan of water boiling on the hob. Slightly squash your lemon grass with the flat of your knife to release the flavours, then add to the pan whole (or in half if too long!). My intention here is to flavour the water - and subsequently the potato - with these gorgeous citrus flavours without them overpowering the fishcake.


Prepare all of your stir-fry veg and put in a bowl. Mix in the sugar and rice wine vinegar and leave to one side for later.

Then, spread the green curry paste over your fish fillets. Place them on a baking tray and wrap loosely with silver foil. This needs to go in a preheated oven until just cooked and flaky (probably at about 180 degrees for around 10-20mins depending on the size of your fillets).
  
Add your chopped potato to the pan of water and boil until soft (about 10mins).


Once the fish is cooked, remove from the oven and flake into a large bowl. Add the chilli, coriander and lime juice, and season with salt and pepper.

Once soft, drain the potatoes and remove the lemongrass stalk. Add a drizzle of olive oil and mash. Then add the potato to your fish bowl, mixing together.


Sprinkle your flour onto a flat surface. When the ingredients in your bowl are cool enough to touch, crack your egg into the bowl and combine with your hands. Collect a small handful into a ball and squash between the palms of your hands to make a fishcake shape. Lightly dip both sides into the flour and put on a plate ready to fry. Repeat until you have created all of your fishcakes.


Add a drop of olive oil into a pan (I used a griddle pan) and pop your fishcakes in. Cook for a couple of minutes on each side.


For your veg, simply add it to a wok with a dash of olive oil and soy sauce. Cook for a couple of minutes until the veg is starting to soften, but still with some crunch!


Serve up and enjoy with some sweet chilli sauce!


Monday, 18 November 2013

Super Easy Open Baguette

This was a ridiculously easy but very tasty meal that I cooked for a friend the other night after work. When you want to eat nice food, but really can't be bothered to spend hours in the kitchen, then this might be one for you! You can change the ingredients to anything that you fancy (I think most people would add tomatoes to this but I don't particularly like them), or you might prefer different toppings altogether...

Whatever you put on it, a part-baked baguette topped with tasty bits is going to be a hit! And if you are anything like me, then you just cannot have too much cheese...

Serves 2

Ingredients

1 large part-baked baguette
2 tablespoons green pesto (preferably homemade but if it's going to be a quick after-work dinner like it was for me then shop bought will definitely suffice!)
1/2 red pepper, sliced
4 pieces parma ham
1 mozzarella ball, sliced
freshly ground black pepper

Method

Cut the baguette in half and then top up with the ingredients in the order shown below. Make sure to give a good twist of black pepper before putting it into a preheated oven (according to the baguette packet instructions). I would probably bake it for about 10mins or until the cheese is bubbling deliciously!


Serve with a green salad (delicious with rocket!) and add some roughly chopped fresh basil leaves to compliment the pesto flavours... Enjoy!


Thursday, 24 October 2013

My best ever Fried Rice Recipe

The other night I made the best fried rice ever... it was tasty, healthy, cheap, easy and lasted me a dinner and two lunches! With just a few bits of veg I had left over in my fridge and a selection of Thai flavours I concocted this yummy dish, and I really didn't expect it to go quite this well... It was that good I probably won't be able to recreate it, but I've done my best to write a bit of a recipe for it here so that you can have a go and so I can try and remember how I did it!! Apologies for the big headedness - you will just have trust me that this was just THAT good!

Ingredients (don't trust these completely, alter as you wish, and feel free to add whatever veg you like!)


Serves 2-3
two white fish fillets (I actually just used cheapo frozen white fish!)
1 portion of rice (about 1/3 cup)
1 large carrot, grated
2 teaspoons of sugar
1 teaspoon of white wine vinegar
2 eggs
olive oil
1 red onion, chopped
about half a broccoli (cut the florets into small pieces)
2 lemon grass stalks, chopped finely
1 garlic clove, chopped finely
1 chilli, chopped
1 red pepper, chopped
3spring onions, chopped
1 tablespoon of soy sauce
1 tablespoon of Thai sweet chilli sauce
salt and pepper
a large handful of fresh coriander, chopped roughly

Recipe (or something similar!)


Bake the fish in the oven for 15-20mins depending on the size of the fillets. Boil a pan of water and add your rice. Cook until it is soft and then drain. Mix the grated carrot with the sugar and white wine vinegar. Crack the eggs into a jug and whisk with a fork. Leave all these to the side for later.

Put a dash of oil in your wok over a medium-high heat, then add the onion and broccoli and fry until the onion starts to soften a little.

Then add lemon grass, garlic, chilli and red pepper and fry for a couple of minutes.

Add the carrot mixture and spring onions and fry for a further minute before tipping the veg into a bowl, leaving the wok empty.


Put another dash of olive oil into the wok and add your whisked eggs. Keep moving it around with a wooden spoon until the eggs begin to cook, making sure that none of it sticks to the pan.

Add the ready cooked rice and mix in. Make sure all of the egg is cooked, then add your veg mixture.

Mix in your soy and sweet chilli sauces and season with salt and pepper.

Finally, throw in as much coriander as you like (it's my favourite herb and an essential flavour to this dish!), mix altogether and serve.

YUM!!!!!